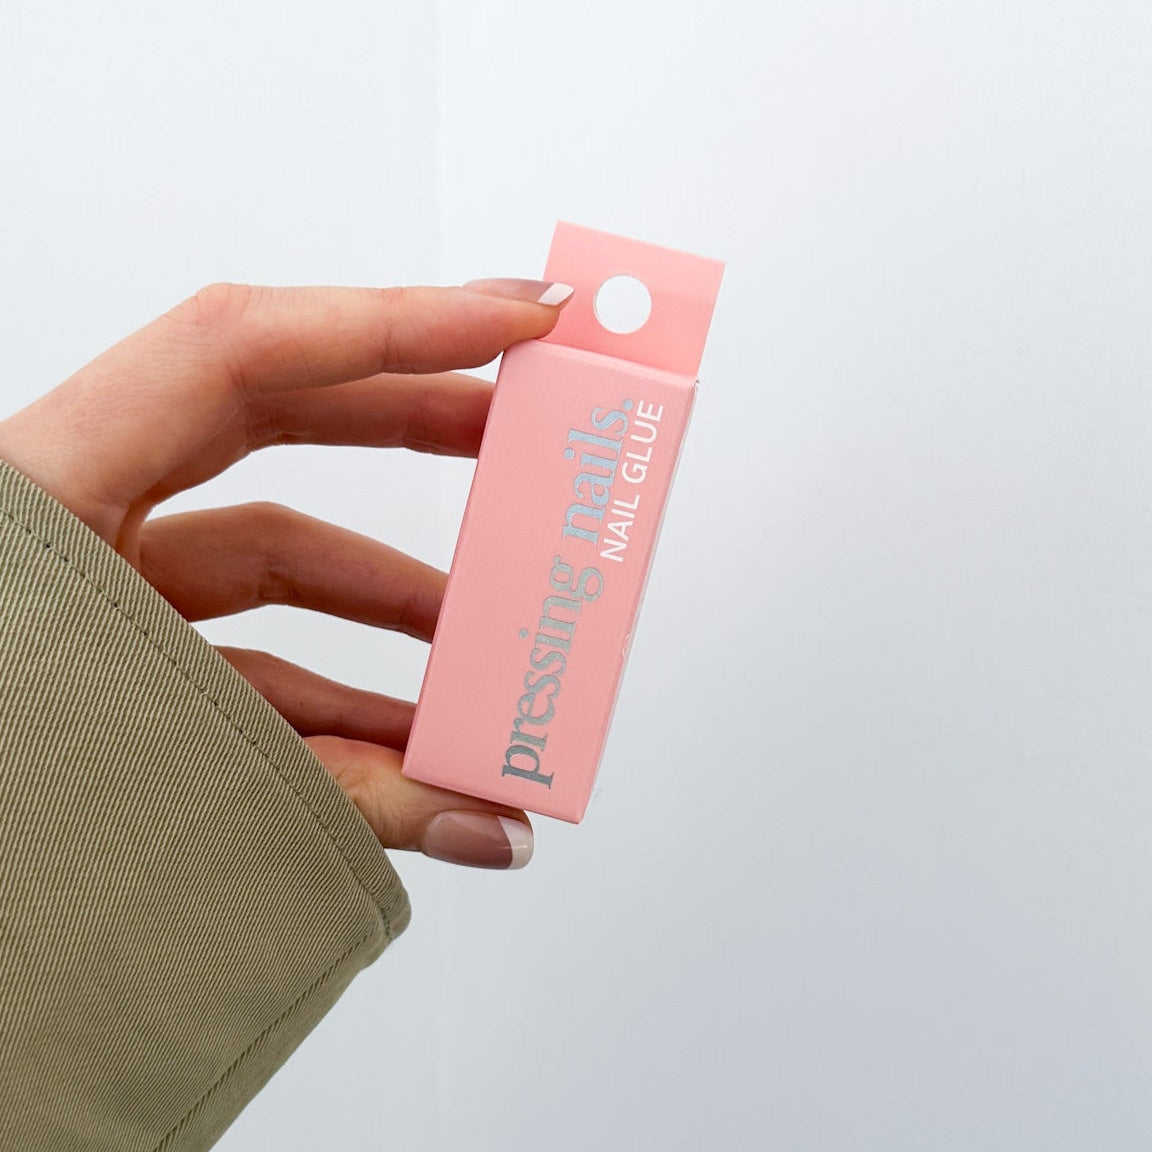
Press-on nails are a fast and easy way to get a fresh manicure without going to a salon. When applied properly, they can last up to three weeks, and in some cases, even longer. At Pressing Nails, we’ve designed our nail kits to give you long-lasting results that look great and feel comfortable. This article walks you through how to apply press-on nails step by step, using our recommended method.
Start by Washing and Prepping Your Hands
Before you do anything else, wash your hands well with soap and warm water. Dry them fully with a clean towel. Make sure your nails are free from any old polish or residue. If you have nail polish remover, use a small amount on a cotton pad to clean off anything left behind.
Select the Right Size for Each Nail
Pressing Nails kits come with multiple sizes to suit a range of nail shapes. Lay out the nails and match each one to the correct finger. The press-on nail should line up with the sides of your natural nail without overlapping onto the skin.
If you are in between sizes, choose the smaller option for a better fit or you can gently file the sides of the press-on nail to customise the shape if needed.

Prep Cuticles and File the Surface of Your Nails
This is a key step for making your press-on nails last. First, gently push back your cuticles with the wooden cuticle that comes in the kit.
Then take the nail file and lightly buff the top of each nail. You are not trying to thin the nail, just remove the natural shine. This helps the glue stick better and gives the press-on nail something to grip onto.
Make sure to file all ten nails before moving on to the next step.

Clean Your Nails with the Alcohol Wipe
Use the alcohol wipe included in your kit to clean each nail. This removes any oil, dust or debris that could stop the glue from sticking properly. Let your nails air dry for a few seconds before applying the glue.
Don’t skip this step. Natural oils on your nails can affect how well the press-ons stay on.

Apply the Nail Glue
Apply a thin, even layer of glue to your natural nail. Then add a small amount to the back of the press-on nail. Don’t use too much or it may spill out the sides. Let the glue sit for 10 to 15 seconds. It should start to feel tacky, not wet, before pressing the nails on.
Working one nail at a time will give you the best results.

Press and Hold
Once the glue is ready, press the nail onto your natural nail and hold firmly for at least 15 seconds. Apply pressure across the whole nail, including the sides. This helps the glue bond properly and reduces the chance of air bubbles.
Repeat the process for each nail, making sure each one feels secure before moving on to the next.
Let Them Set
After applying all ten nails, avoid getting your hands wet for at least one hour. This gives the glue time to cure fully. Try not to do anything too active with your hands during this time.
If you’re applying your nails in the evening, this is a good time to sit back and relax.
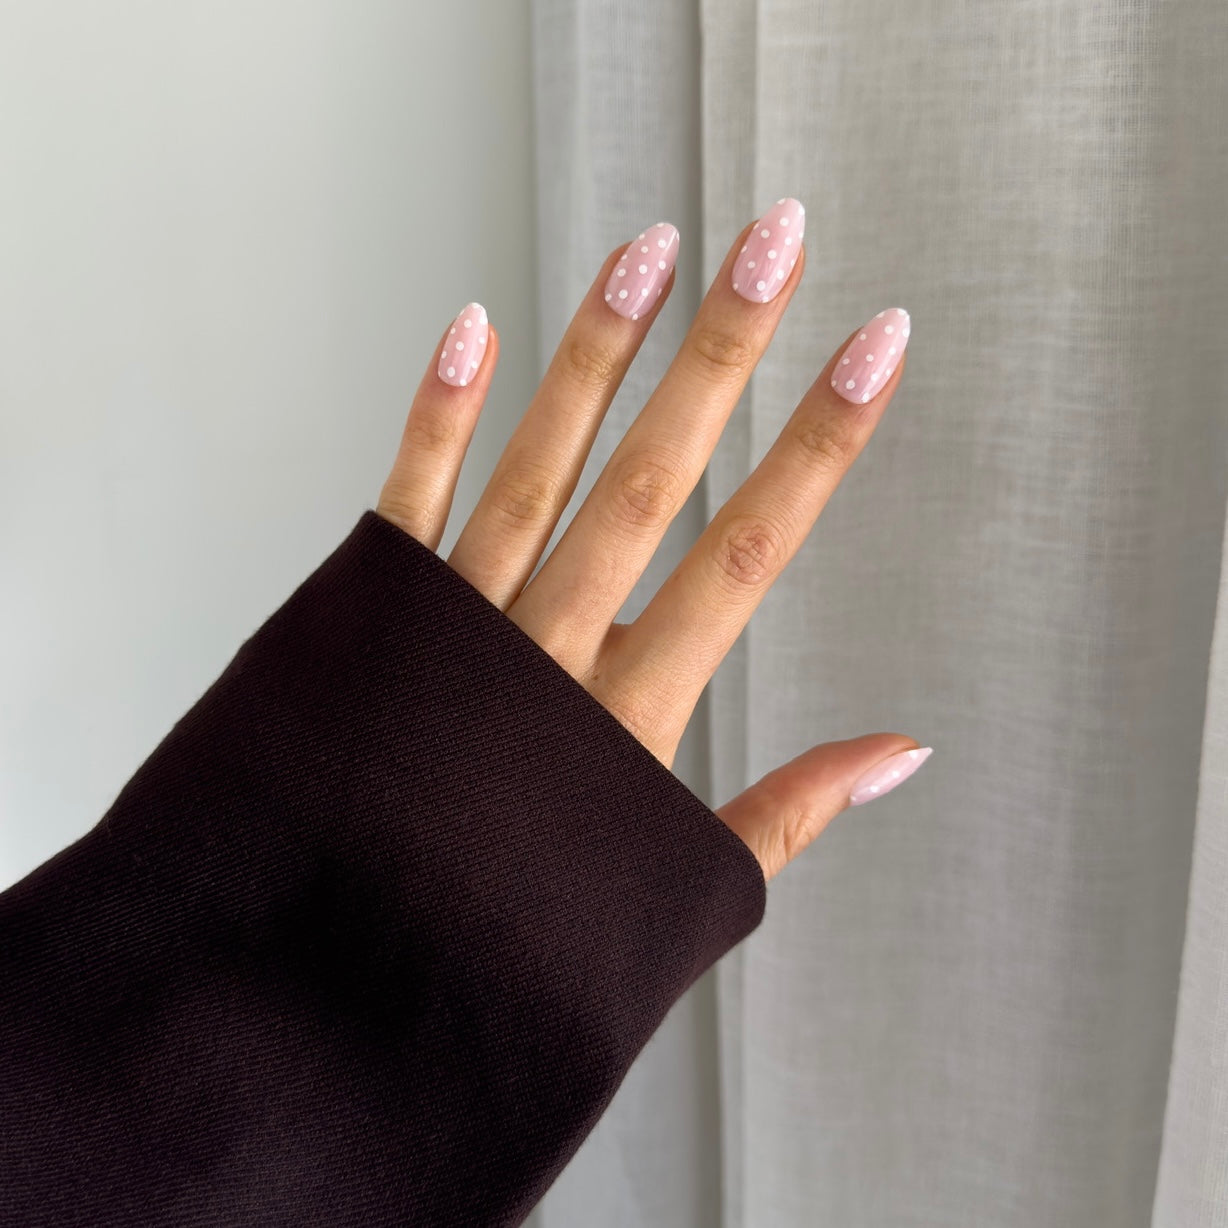
How Long Will Press-on's Last?
With proper application, Pressing Nails can last two to three weeks. Some of our customers have kept theirs on for up to five weeks. How long they stay on will depend on how well you followed the steps and your daily activities.
If you wash your hands often, use cleaning products, or do a lot of hands-on work, you may notice shorter wear time. Wearing gloves for cleaning or dishes can help extend the life of your nails.
A Few Extra Tips
-
Avoid using hand cream or oil before applying your nails
-
If a nail pops off, you can reapply it using the same steps
-
Keep your glue and file handy for touch-ups if needed
-
Store unused nails and supplies for your next set
Pressing Nails makes it easy to get salon-style nails at home. Follow these simple steps and your press-on nails will not only look great but last longer too. Ready to try it for yourself? Explore our range of press-on nails and order your kit online today.